wine on the keyboard

Fall Road Trip Photos

by Kay~Kacey on 11/21/2012

We’ll take a brief break from showing all things new house, and I’ll share some recent photos I took on a road trip between Columbia and St. Louis. We had pretty fall colors this year. I thought after the long summer draught that it would be a ho hum autumn. But not so much. Very pretty.

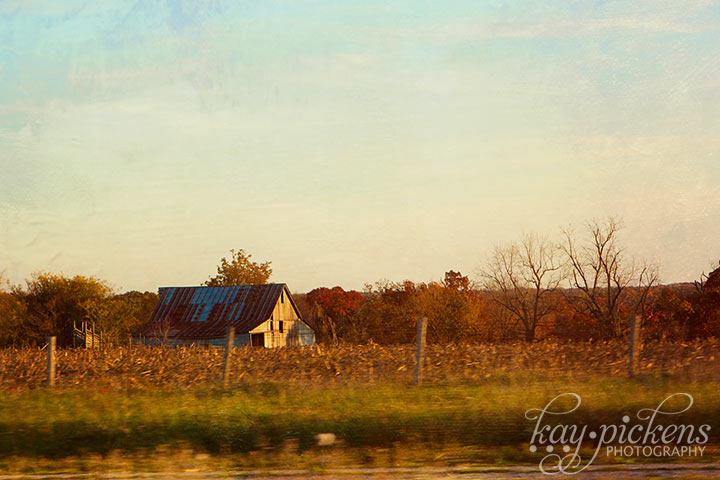
autumn colors and old barn

Always enjoy a good old barn shot. It was very pretty in the late afternoon sunshine.

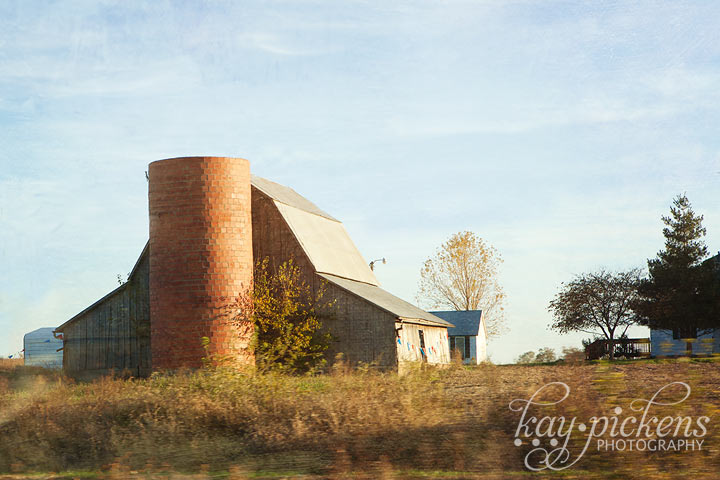
Okay, I confess I did quite a bit of work on the next photo…taking out the bazillion power lines they had near the barn.

old barn in fall afternoon light

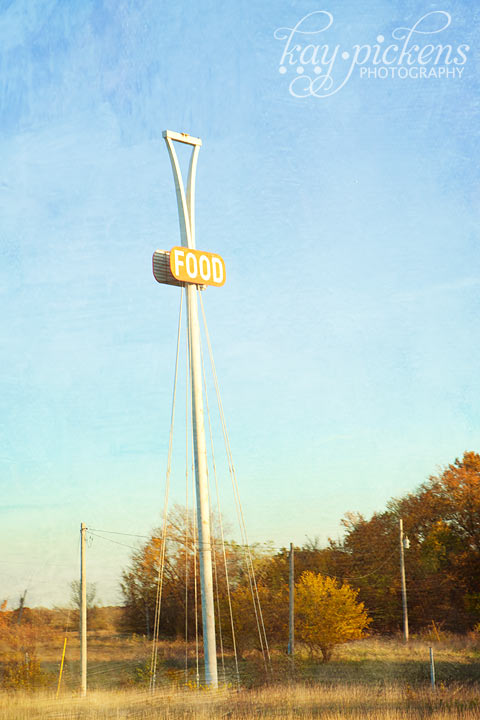
This Food sign has fascinated me for a long time. It’s in the middle of…nowhere. Nothing around. No old building, No road. Nothing. But it cheerfully proclaims FOOD.

Food

Well, I’m sure I should be unpacking…but it’s so much more fun to play with photos.

Enjoy your Thanksgiving. I’m going to be surrounded by family and good food.

Chalk Paint Kitchen Table

by Kay~Kacey on 11/12/2012

Now that we’re over the anguish of where to put the rocks on our land…let’s talk about the farmhouse table I painted with chalk paint and see how it turned out, shall we? I like how it turned out…sort of…

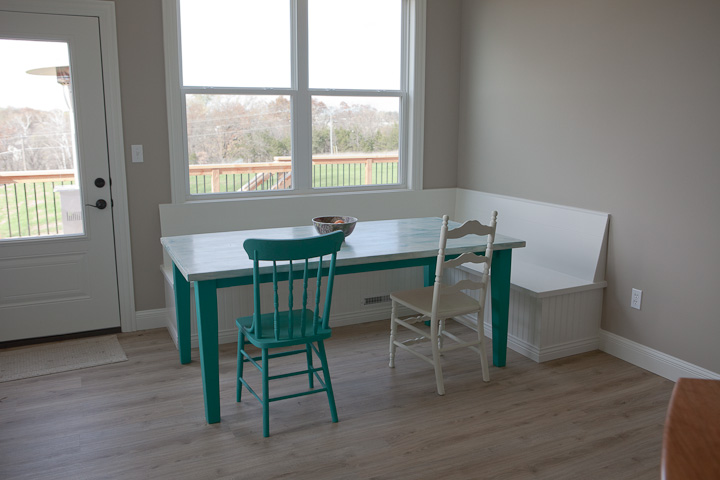
Here it is in our breakfast nook area with our built in bench seats and mismatched chairs.

chalk paint farmhouse table

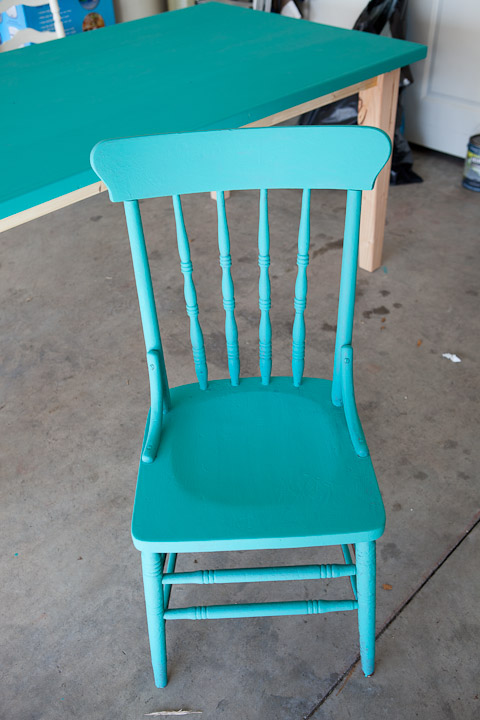
I think I might paint the legs white…can’t decide. I have one more chair to paint too…probably a lighter shade of that teal. The teal color was Annie Sloan Chalk Paint in Florence. The photo below shows the chair and table before I added the top layer of white paint to the table.

chalk paint table and chair

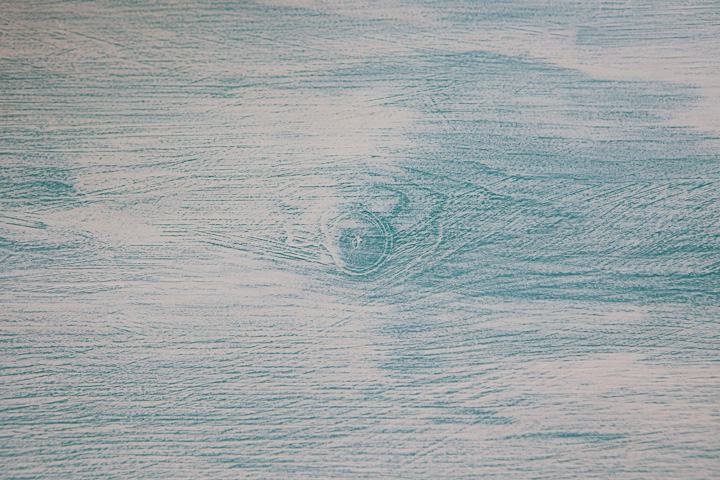
I added a top layer of white to the table then sanded it back to bring out the grain and show the knotholes. I really like that about this paint. Pretty easy to take off just the amount you want.

close up chalk paint table

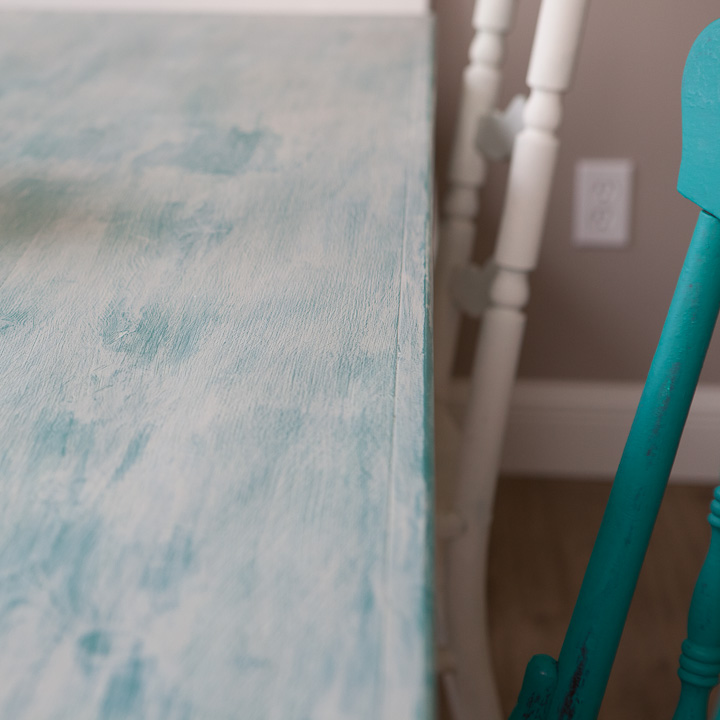
I sanded between layers of paint too…just a bit. Sanded off more along the edges and places that would normally show wear.

close up chalk paint table and chairs

I like how it looks…I’m just not crazy about the Annie Sloan wax that I put on top of it. I followed the directions exactly (though there is a lot of conflicting advice out there on how to best use the wax). I did 3 layers of wax since we’d be using this to eat off of and it would have heavy use. I waited between each layer. It felt kind of tacky–which is supposed to mean I used too much wax…but I didn’t use much at all. I think I should have stopped at 2 layers, because I really like how it felt/looked at 2 layers of wax.

I’ve since buffed this again…ended up using an electric car buffer to try and buff off any extra and really work it into the wood. It still looks a bit streaky to me. I know I could paint right over the wax…but I love how the paint looks now. So. We’ll see if it hardens up. Or I’ve read you can take some mineral spirits to it to take off some of the wax…and then wax again I guess. Anyway, I think it’s going to stay like this until spring when I could take the table outside to work on it…the sanding of the chalk paint makes quite a mess.

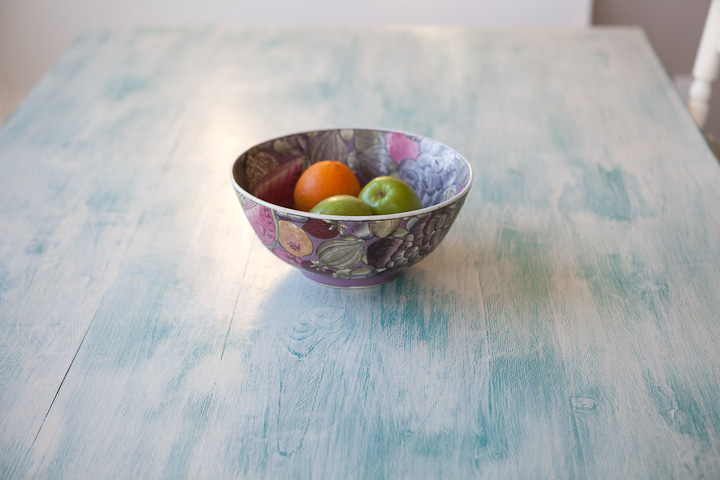
I do love how you can see the separate boards on the table, the knotholes, the grain. Really like that. I wanted it to look like an old, worn table.

So there you have it. My first adventure with chalk paint. Next time 1) I might try making my own chalk paint with one of the recipes out on the net…’cause Annie Sloan chalk paint is crazy expensive–though it goes a long way. 2) if I did a table again, I think I might polyurethane the top of it, instead of wax.

I’m going to paint some other smaller pieces and see if I can conquer the wax application. I do love how this paint just goes over anything without priming. Pretty cool.

About those rocks

by Kay~Kacey on 11/9/2012

As you know, SuperGuy has been all about what to do with the rocks that they dug up when they built the house. I mean, that’s ever so important, right???
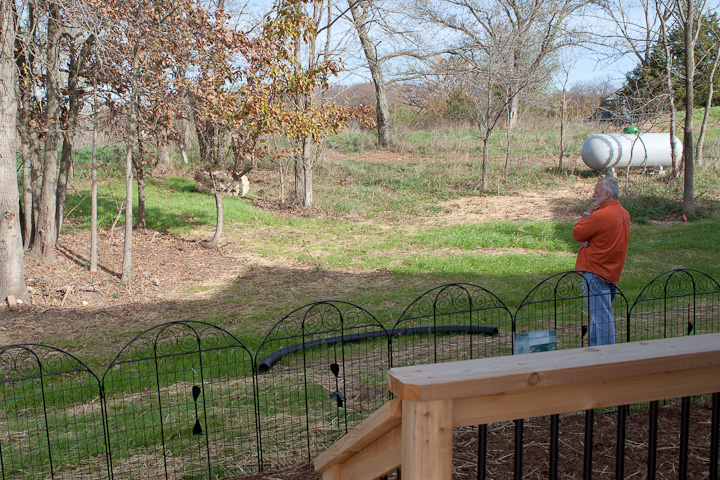
Have you ever seen so much concentration on staring at the land and where the rocks should go?

We had this guy come with this mover/plow/tractor/hauler thing and move the rocks to where SuperGuy wanted them. I kept being asked questions like “should that rock be about a foot to the left?” or equally important “should that rock be turned some.” My standard answer was “whatever you think, dear.”…because he wasn’t really wanting my opinion. I could tell.

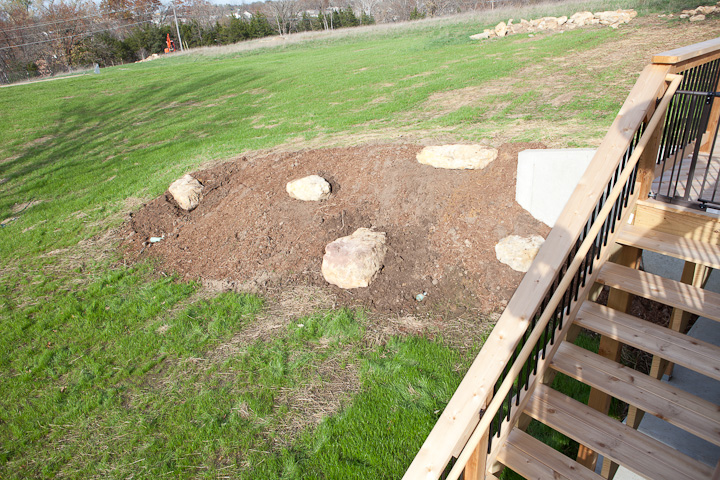
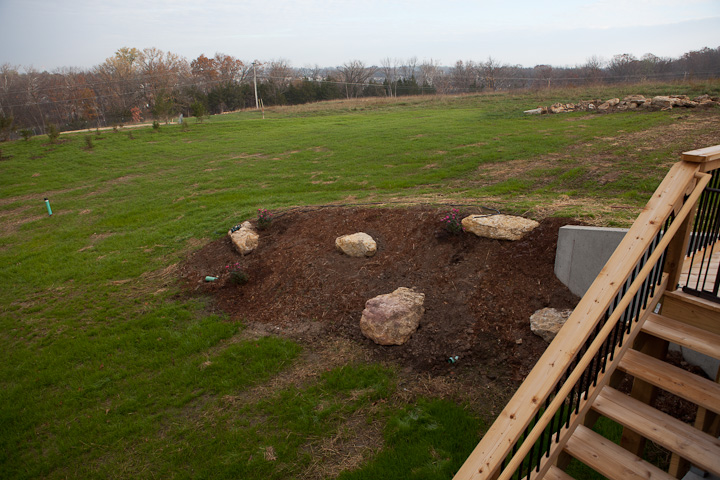
We now have rocks in the side of the hillside with the mulch. Okay, I admit, they look nice there. Much nicer than just a big old mulched hillside.
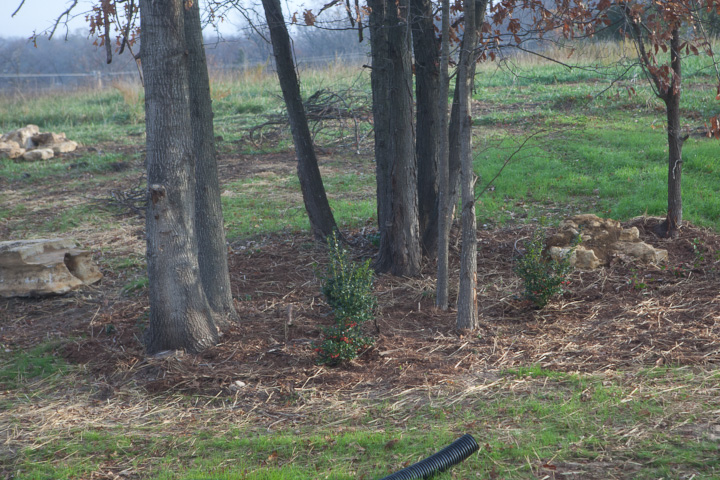
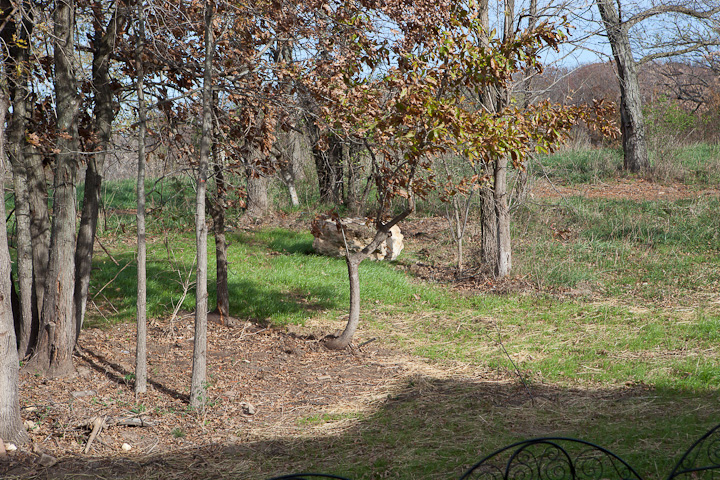
We now have big old rocks scattered under these trees with cute holly bushes planted around them. (oh, yes…planting was much higher up on the list than say, unpacking boxes or getting The Love Nest cleaned up to sell…)
We have rocks randomly scattered at the side of the house. “They look good,” she grudgingly admitted.
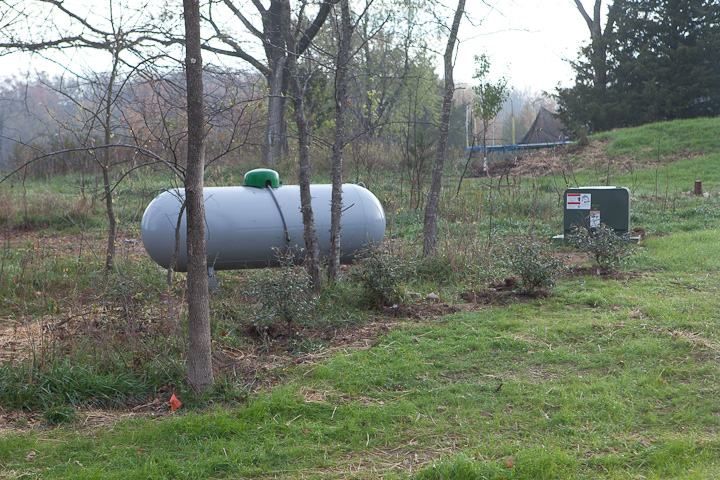
SuperGuy also planted some kind of evergreen bush things in front of the propane tank and the transformer. Should screen them in the next few years.
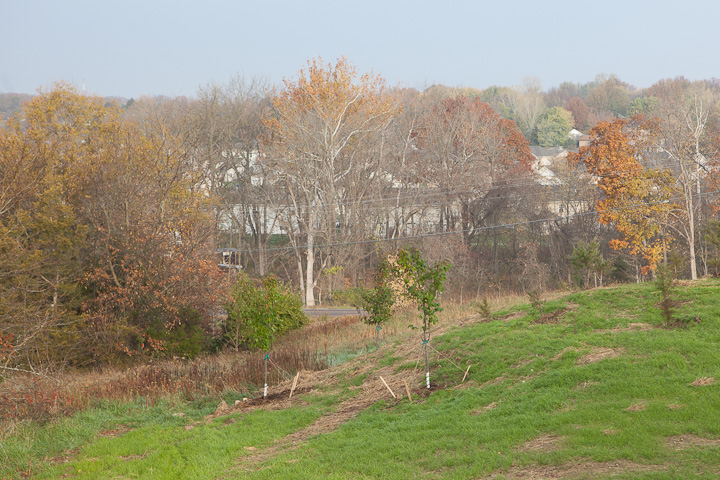
He planted some bradford pear trees–which I love, at the end of this hill in the back to help screen the road. Columbia evidently hates bradford pear trees and is pressuring the nurseries to not carry them, so we got them fairly inexpensively. I love them. Columbia hates them. Oh well, we’ll just have to disagree.
A few knock out rose bushes scattered among his beloved rocks 😉
The guy with the tractor/hauler thing helped SuperGuy scoop up some cedars on our land and plant them across the hill in the back. They’ll be so nice when they grow.
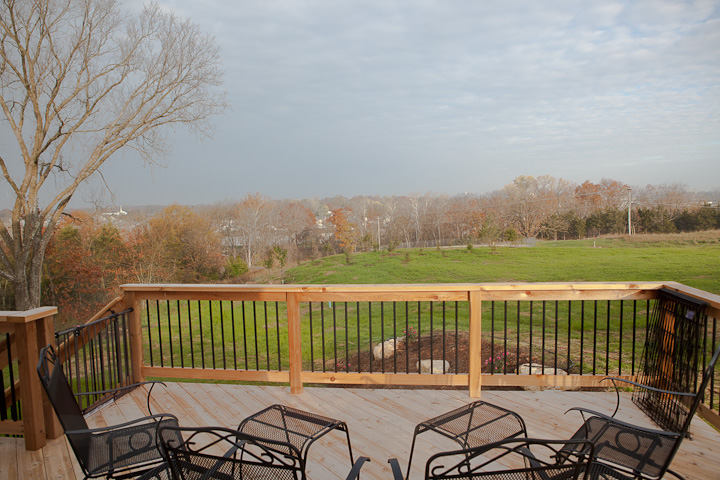
So there you have it. I know you guys were all waiting impatiently to find out what happened to all those rocks!! :toofunny:  We now can go back to unpacking and getting The Love Nest ready to sell.